The Battle of the Seas between Abel Tasman and Francis Drake stands as a significant chapter in maritime history, illustrating the fierce competition for exploration and dominance over the oceans during the Age of Discovery. This confrontation, though not as widely recognized as other naval battles, encapsulates the spirit of adventure and rivalry that characterized the 16th and 17th centuries. Tasman, representing the Dutch East India Company, sought to expand his nation’s influence in the Pacific, while Drake, an English privateer and explorer, aimed to assert England’s maritime supremacy.
Their clash was not merely a battle of ships but a contest of ideologies, ambitions, and national pride. The significance of this battle extends beyond the immediate conflict at sea; it reflects the broader geopolitical landscape of the time. The oceans were not just highways for trade but arenas for power struggles among emerging empires.
The encounter between Tasman and Drake was emblematic of the larger narrative of exploration, colonization, and the relentless pursuit of wealth and territory. As they navigated treacherous waters, both men were acutely aware that their actions would resonate through history, shaping the future of their nations and the world.
Key Takeaways
- The Battle of the Seas: Tasman vs Drake was a significant naval confrontation between two renowned explorers and naval commanders.
- Abel Tasman was a Dutch explorer and navigator, while Francis Drake was an English sea captain and privateer, both with extensive experience in maritime warfare.
- Tasman and Drake employed different naval strategies, with Tasman focusing on precision and discipline, while Drake favored aggressive and daring tactics.
- The battle saw the use of various armaments and ships, including cannons, muskets, and galleons, showcasing the technological advancements in naval warfare during that period.
- The initial confrontation at sea was intense, with both sides engaging in fierce combat and maneuvering to gain the upper hand.
The Background of Abel Tasman and Francis Drake
Abel Tasman was born in 1603 in the Netherlands and became one of the most notable explorers of his time. His early career was marked by his work with the Dutch East India Company, which sought to establish trade routes and colonies in Asia and beyond. Tasman’s expeditions were characterized by meticulous navigation and a keen understanding of maritime geography.
His voyages led him to discover parts of New Zealand and Tasmania, earning him a reputation as a skilled navigator and cartographer. However, his ambitions extended beyond mere exploration; he aimed to secure Dutch interests against rival powers, particularly Spain and England. In contrast, Francis Drake was born around 1540 in Devon, England, and rose to prominence as a privateer and naval commander.
His exploits against Spanish ships during the late 16th century made him a national hero in England. Drake’s circumnavigation of the globe from 1577 to 1580 showcased his exceptional seamanship and strategic acumen. He was not only a skilled sailor but also a shrewd tactician who understood the importance of naval power in asserting national interests.
As tensions between England and Spain escalated, Drake’s role as a privateer became increasingly significant, positioning him as a formidable adversary on the high seas.
The Naval Strategies of Tasman and Drake
The naval strategies employed by Tasman and Drake were reflective of their respective backgrounds and objectives. Tasman’s approach was rooted in exploration and trade; he sought to chart new territories while establishing Dutch dominance in lucrative trade routes. His strategy involved careful reconnaissance and mapping, allowing him to navigate uncharted waters with precision.
Tasman understood that knowledge of the sea was paramount for successful navigation, and he relied on detailed charts and logs to guide his expeditions. Drake’s strategy, on the other hand, was more aggressive and opportunistic. As a privateer, he operated with a mandate to disrupt Spanish shipping and seize valuable cargo.
His tactics often involved surprise attacks and swift maneuvers designed to outsmart larger enemy vessels. Drake’s experience in raiding Spanish ports informed his approach to naval warfare; he favored speed and cunning over brute force. This adaptability allowed him to exploit weaknesses in enemy formations, making him a formidable opponent in any maritime engagement.
The Armaments and Ships Used in the Battle
| Ship Name | Armament | Number of Ships |
|---|---|---|
| USS Monitor | 2 × 11-inch (280 mm) Dahlgren smoothbore cannons | 1 |
| CSS Virginia | 10 × 9-inch (230 mm) smoothbore cannons 6 × 32-pounder cannons |
1 |
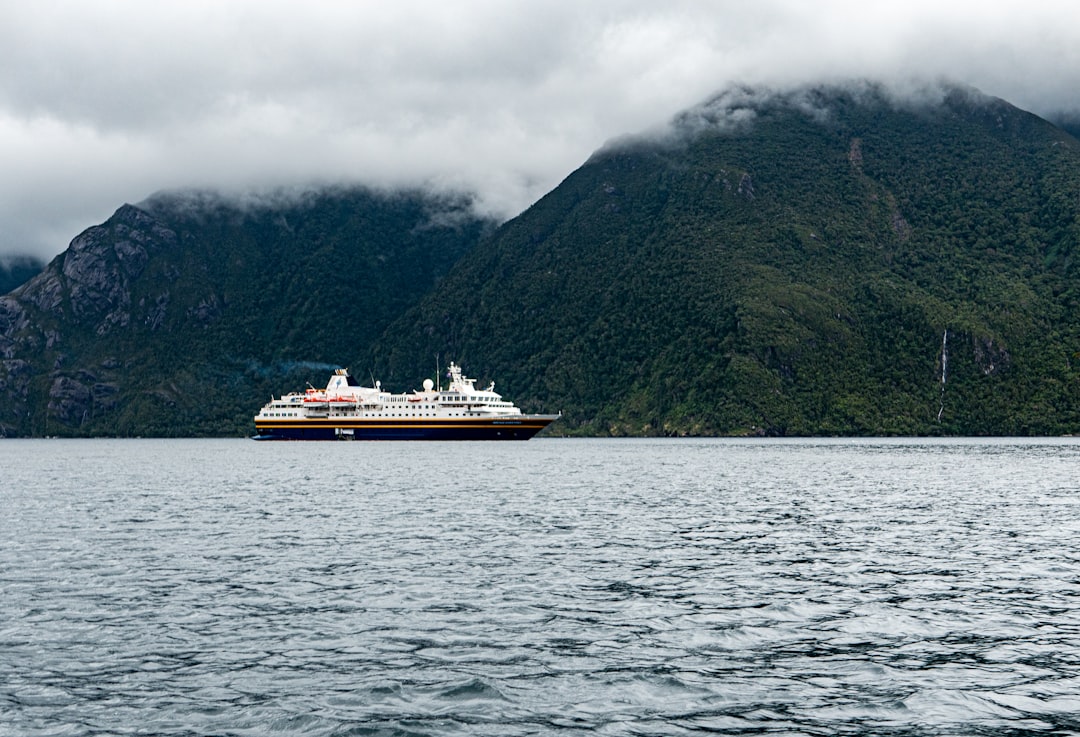
The ships that Tasman and Drake commanded were emblematic of their respective naval capabilities. Tasman’s fleet consisted primarily of well-armed merchant vessels equipped for exploration rather than direct confrontation. His flagship, the Heemskerk, was a sturdy ship designed for long voyages but lacked the heavy artillery that characterized warships of the time.
Tasman’s reliance on navigation and reconnaissance meant that his ships were outfitted for endurance rather than combat. In stark contrast, Drake’s fleet was composed of heavily armed privateer ships designed for both speed and firepower. His flagship, the Golden Hind, was renowned for its agility and armament, allowing it to engage effectively with enemy vessels.
Drake’s ships were equipped with cannons capable of delivering devastating broadsides, making them formidable opponents in naval battles. The disparity in armaments between Tasman’s exploratory vessels and Drake’s war-ready ships would play a crucial role in shaping the dynamics of their encounter at sea.
The Initial Confrontation at Sea
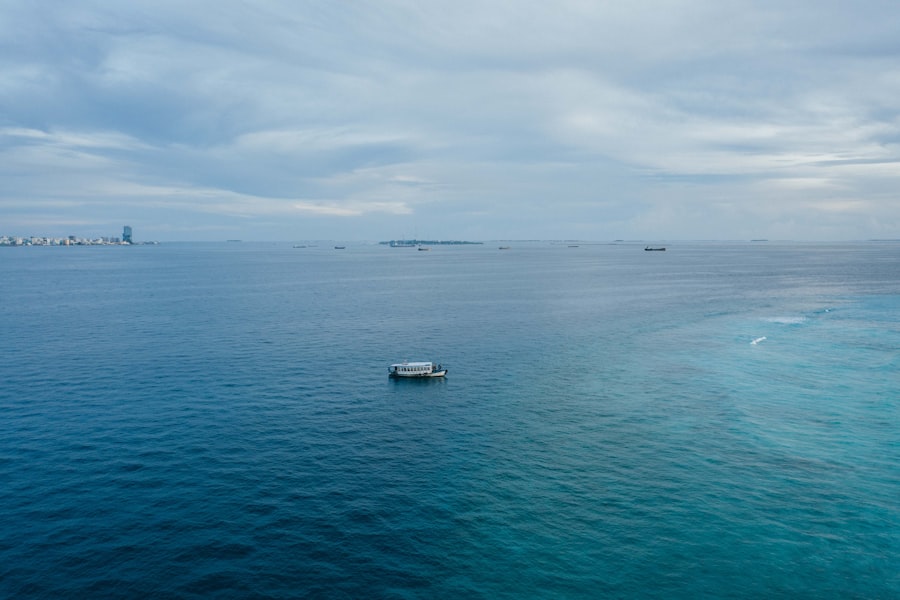
The initial confrontation between Tasman and Drake unfolded amidst the vast expanse of the ocean, where both men sought to assert their dominance over contested waters. As Tasman’s fleet ventured into areas claimed by England, tensions escalated. The encounter was marked by uncertainty; neither commander fully understood the other’s intentions or capabilities.
The vastness of the sea created an atmosphere of unpredictability, where every maneuver could lead to confrontation or retreat. When their ships finally met, it was a moment charged with anticipation. The sight of sails on the horizon signaled not just an encounter but a clash of ambitions.
Tasman, aware of Drake’s reputation as a fierce privateer, prepared his crew for potential conflict while hoping to avoid bloodshed. Conversely, Drake saw an opportunity to assert English power over Dutch interests in the region. The initial moments were fraught with tension as both sides assessed each other’s strengths and weaknesses, setting the stage for a dramatic confrontation.
The Tactics and Maneuvers Employed by Tasman and Drake
As the battle commenced, both Tasman and Drake employed tactics reflective of their respective naval philosophies. Tasman sought to leverage his knowledge of navigation to outmaneuver Drake’s fleet. He aimed to use the wind and currents to his advantage, attempting to position his ships in ways that would allow for strategic retreats or surprise attacks if necessary.
His experience as an explorer informed his approach; he understood that knowledge of the sea could be as powerful as firepower.
He quickly sought to close the distance between his ships and Tasman’s fleet, aiming to deliver powerful broadsides that could cripple enemy vessels before they had a chance to respond effectively.
His experience in raiding Spanish ships informed his approach; he favored quick strikes that would catch opponents off guard. The battle became a test of wits as both commanders maneuvered their ships with skill, each seeking to gain the upper hand while minimizing losses.
The Role of Weather and Geography in the Battle
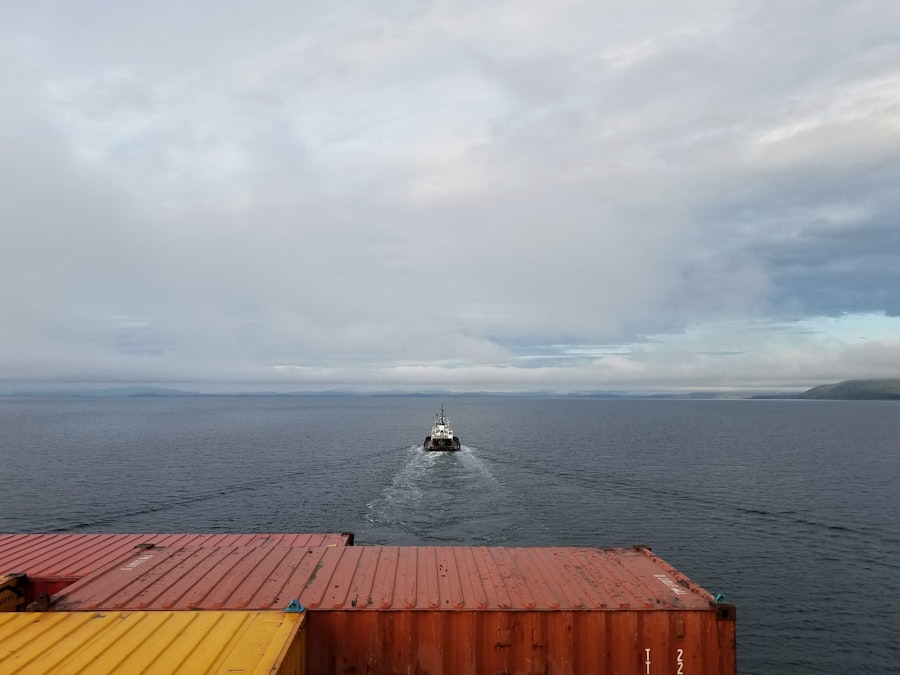
The weather played a pivotal role in shaping the outcome of the battle between Tasman and Drake. The unpredictable nature of oceanic conditions could turn tides—literally and metaphorically—affecting visibility, wind direction, and sea state. As both fleets engaged in combat, sudden squalls or shifts in wind could disrupt their maneuvers, forcing them to adapt quickly to changing circumstances.
Tasman’s experience navigating treacherous waters would have been invaluable during these moments when nature itself became an adversary. Geography also influenced the dynamics of their encounter. The vastness of the ocean provided ample room for maneuvering but also posed challenges for both commanders.
Narrow straits or coastal features could serve as natural barriers or advantageous positions for ambushes. Understanding local currents and tides became crucial for both men as they sought to exploit every geographical advantage available to them. The interplay between weather patterns and geographical features added layers of complexity to an already tense confrontation at sea.
The Aftermath of the Battle
The aftermath of the battle between Tasman and Drake reverberated through maritime history, leaving lasting impressions on both men’s legacies. While neither commander achieved a decisive victory that day, their encounter underscored the fierce competition between emerging maritime powers during this era. For Tasman, the battle served as a reminder of the challenges faced by explorers venturing into contested waters; it highlighted the need for greater military preparedness alongside exploration efforts.
Drake emerged from this confrontation with renewed confidence in England’s naval capabilities. Although he did not secure a clear victory over Tasman’s fleet, his aggressive tactics reinforced his reputation as a formidable privateer who could challenge even well-prepared adversaries. The battle also contributed to shifting perceptions about naval warfare; it demonstrated that exploration could no longer be conducted without consideration for military strategy in an increasingly competitive global landscape.
The Impact of the Battle on Maritime History
The impact of this battle on maritime history cannot be overstated; it represented a turning point in how nations approached exploration and naval warfare alike. As European powers expanded their reach across oceans, encounters like that between Tasman and Drake became more common—each one shaping national policies regarding trade routes, territorial claims, and military preparedness at sea. This battle exemplified how exploration was intertwined with conflict; it illustrated that knowledge gained through navigation could be weaponized against rivals seeking similar ambitions.
Furthermore, this confrontation highlighted emerging trends within naval warfare during this period—namely, an increasing emphasis on speed, maneuverability, and strategic positioning over sheer firepower alone. As nations recognized these evolving dynamics at play within maritime conflicts, they began investing more heavily into shipbuilding technologies designed specifically for agility rather than just brute strength—a shift that would influence naval engagements for centuries to come.
The Legacy of Tasman and Drake in Naval Warfare
The legacies left behind by Abel Tasman and Francis Drake continue to resonate within naval warfare today—each man embodying different aspects of exploration while simultaneously shaping strategies employed by future generations at sea. Tasman’s contributions as an explorer laid foundational groundwork for subsequent expeditions into uncharted territories; his meticulous mapping efforts paved pathways toward understanding new lands that would later become vital trade routes. Conversely, Drake’s legacy lies firmly rooted within notions surrounding privateering—his daring raids against Spanish vessels established precedents regarding how nations could leverage non-state actors within broader conflicts at sea.
His tactics influenced countless naval commanders who followed suit; they learned from his successes (and failures) alike when engaging adversaries across oceans fraught with danger.
Comparing the Leadership and Legacy of Tasman and Drake
When comparing leadership styles between Tasman and Drake emerges distinct contrasts reflective not only upon their individual personalities but also upon broader cultural contexts surrounding each man’s endeavors at sea. Tasman exemplified patience—his methodical approach toward exploration emphasized careful planning alongside thorough reconnaissance before engaging adversaries directly; this mindset allowed him greater success during exploratory missions despite facing formidable challenges along way. In contrast stands Drake—a figure defined by boldness—his willingness to take risks often led him into confrontations where calculated aggression proved essential for achieving desired outcomes against rival powers like Spain or even fellow explorers such as Tasman himself!
This divergence highlights how different leadership styles can yield varying results depending upon circumstances faced during critical moments throughout history—each man leaving behind legacies shaped by unique experiences encountered while navigating treacherous waters together!
The Tasman Sea and the Drake Passage are two significant bodies of water that present unique challenges and characteristics for maritime navigation. The Tasman Sea, located between Australia and New Zealand, is known for its unpredictable weather patterns and strong currents, making it a formidable route for sailors. In contrast, the Drake Passage, situated between the southern tip of South America and Antarctica, is infamous for its turbulent waters and extreme conditions, often considered one of the most treacherous sea passages in the world. For those interested in exploring more about these fascinating maritime regions, a related article can be found on